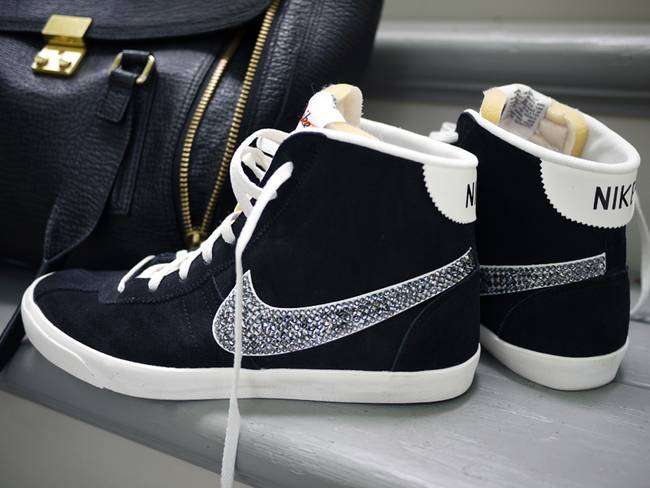
You’ll need:
a pair of sneakers
300-400 Swarovski flatback 3.2mm round crystals
400-500 Swarovski flatback 4mm round crystals
jewel setter or skewer and beeswax
E6000
toothpicks
Start by squeezing a dollop of E6000 glue
onto a piece of cardboard or disposable surface. Use a toothpick to
apply a thin line of glue along a small section of the logo perimeter.

Flip all the crystals so they are all
face up. Use the jewel setter, a wax tipped tool, to pick up each
crystal. You can easily DIY your own jewel setter by balling up some
beeswax on the tip of a skewer or toothpick.
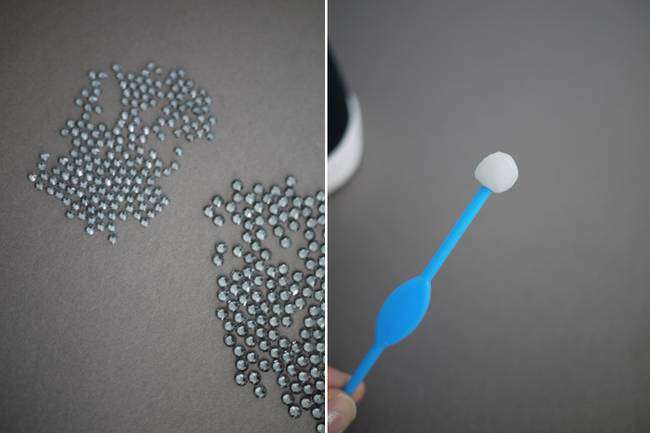
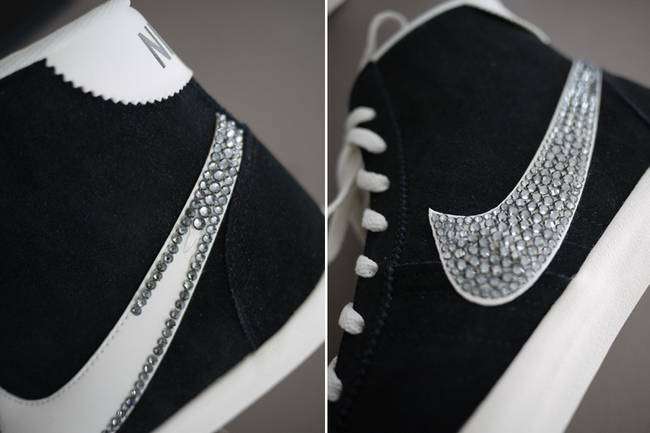
Apply the smaller crystals, one at a time, along the perimeter. Add more glue as needed.
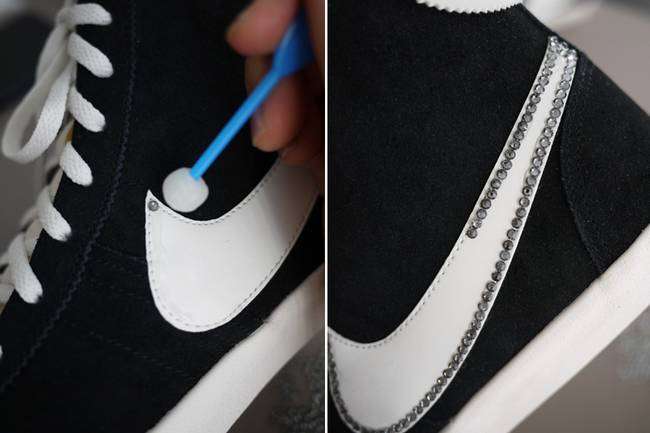
Fill in the logo with larger crystals. Smaller crystals may need to be used to fill in any small gaps.
Allow to dry completely before repeating
the steps. Use a wet cloth to wipe off any waxy residue left behind by
the jewel setter.
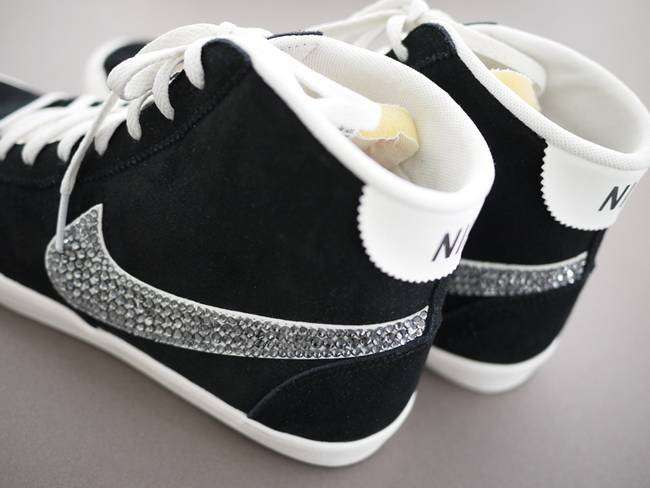
Viola! Your crystal studded kicks are finished . . . bling bling.
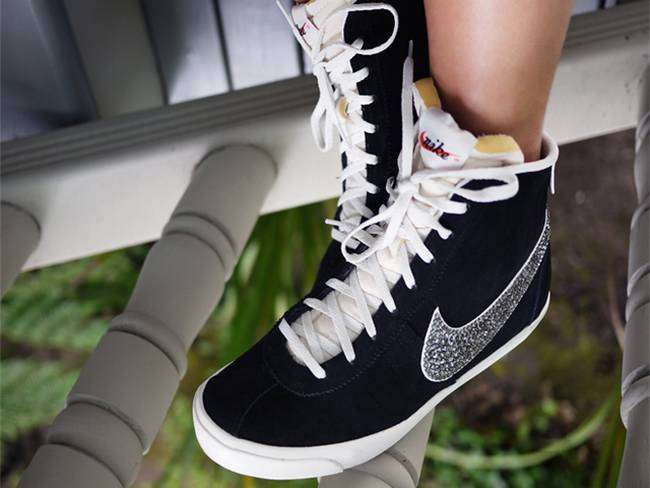
Source: http://honestlywtf.com/diy/diy-crystal-studded-sneakers/

No comments:
Post a Comment